In this post, I’m going to show you how to instruct Fortinet’s firewall FortiGate via Flowmon ADS to block traffic in response to a detected anomaly or attack. This particular integration is designed to automatically block traffic against the firewall and stop it at the perimeter.
What you’ll need
The integration scripts are available for download from our partner portal. The full documentation has been published as well.
At present, the integration only works with IPv4 address ranges, as achieving this with IPv6 would require another API call to create an address object, but it really depends on your network connectivity. If you have only IPv4 available on the WAN interface there is no need for IPv6 blocking.
Background
One way to block attacks against a FortiGate device that has an IPSec VPN service enabled is via configuring a Local-In policy. By default, the Local-In policy allows access to all addresses but you can create address groups to block specific IPs. One such group can contain up to 600 IPs, although the limit will vary between individual platforms. There is a timer that will remove IPs from the list after a set period to rotate the list and keep it short.
Now, to get Flowmon ADS to provide you with IPs to block, you need visibility into network traffic before it reaches FortiGate.
In other words, you need NetFlow/IPFIX data from a router or a Flowmon Probe placed before the firewall. I do not recommend using FortiGate itself because its flow export does not include TCP flags, which means many detection methods won’t provide reliable results. This applies even to the latest FortiOS 6.4.
Once you have your flow source and your Flowmon ADS is configured to detect anomalies, you can install the custom script package mentioned above. It uses REST API calls to create address objects from Flowmon ADS events in FortiGate and keeps a database of previously blocked IPs for later use.
It’s a Python script requiring an additional library which you won’t normally find on your Flowmon appliance, but you can find it in the package and install it there.
Installation
First, download the package ( ag-mitigation.tar.gz ) and import it via the Configuration Center like any other Flowmon software package. It will then reside in /data/components/fgt-mitigation/ .
List of installed packages in Flowmon Configuration Center

The package contains a configuration file and two scripts; ag-mitigation.py is responsible for the blocking and will require uploading to Flowmon ADS (see below), and the other, ag-timeout.py , removes blocked addresses using a timeout.
After installation, you’ll be able to start/stop the timeout script from the UI. It uses an SQLite3 database to keep information about blocked IPs and their time to live in those records. You can configure how long they should stay in place and, by modifying a cron scheduler, how often the script should run.
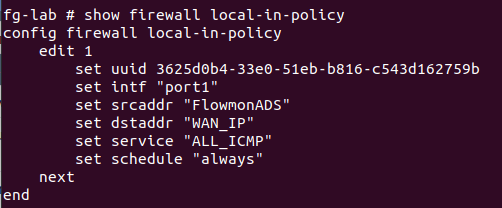
Next, you need to enable a Local-In policy on your FortiGate with a default action to block any traffic in the Flowmon ADS group running always.
FortiGate console with Local-In policy configured

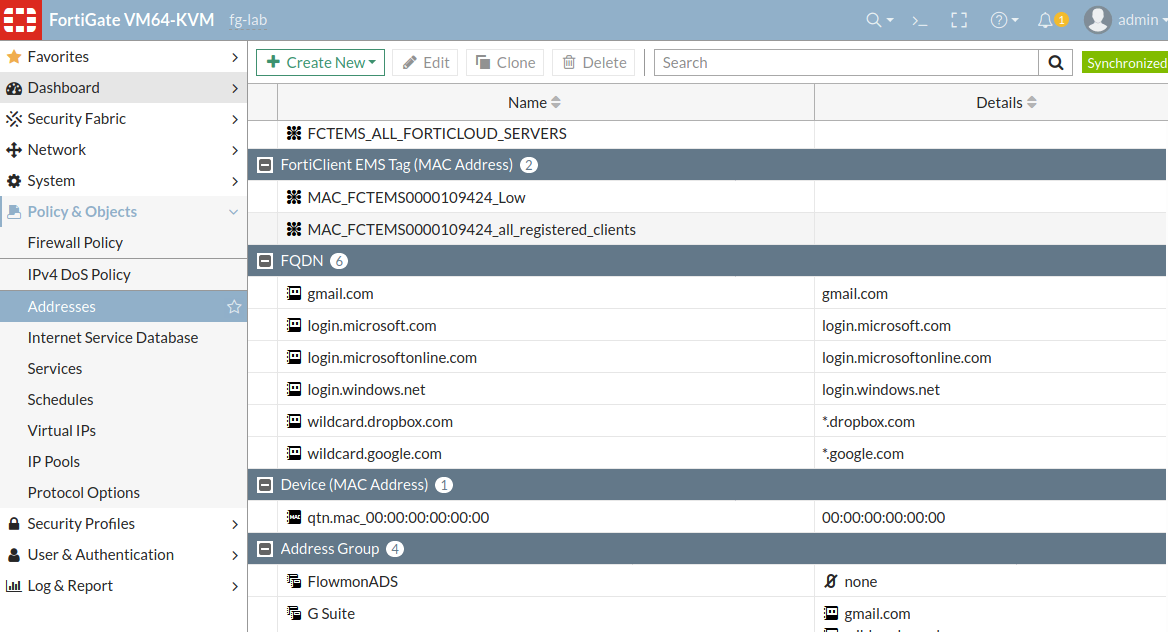
At the beginning, this group consists of just one record that basically stands for “no IP address”. This is only because a FortiGate group cannot be empty and this one record won’t block anything.
Web interface of FortiGate configuration with an address group configured for the script

Then, set up one monitoring interface of the Flowmon appliance connected to the management switch acting as a WAN port for FortiGate (I’m doing this in my lab in place of a real deployment). This makes it possible to collect all the traffic passing through the observation point and see any attack launched against the FortiGate WAN IP address.
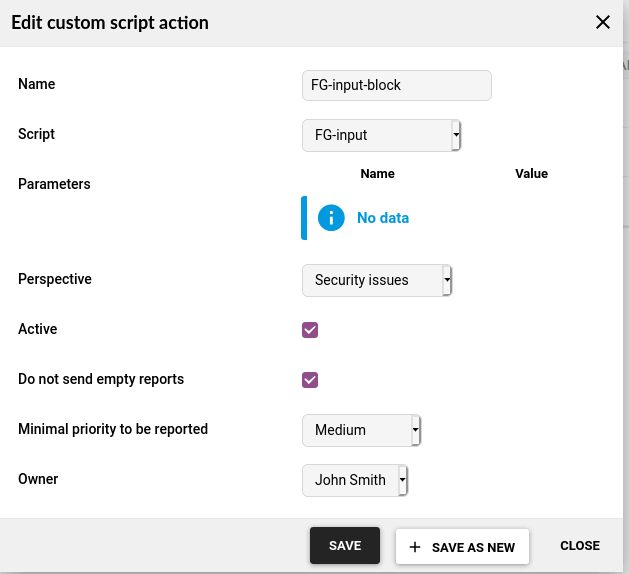
Using Flowmon ADS configuration, upload the script without any parameters and add it as a custom script trigger to run within the Security Issues perspective whenever an event of medium severity or higher is detected.
Flowmon ADS custom script configuration

Blocking
Before any attack is blocked, you can easily ping the WAN IP address of FortiGate. This indicates a peace scenario - incoming traffic is allowed to pass through.
A successful ping command with the FortiGate IP address

When the script is triggered, information in FortiGate is updated via REST API including an IP range or subnet definition and inclusion to the Flowmon ADS address group.
IP address added from Flowmon ADS with an event ID

The event also appears in the Address Group

Now the list is updated and the machine with the IP address 192.168.47.79 can no longer ping FortiGate or connect to it on any of its ports. That means the firewall is blocking it based on instructions from Flowmon ADS.
A ping command without a response

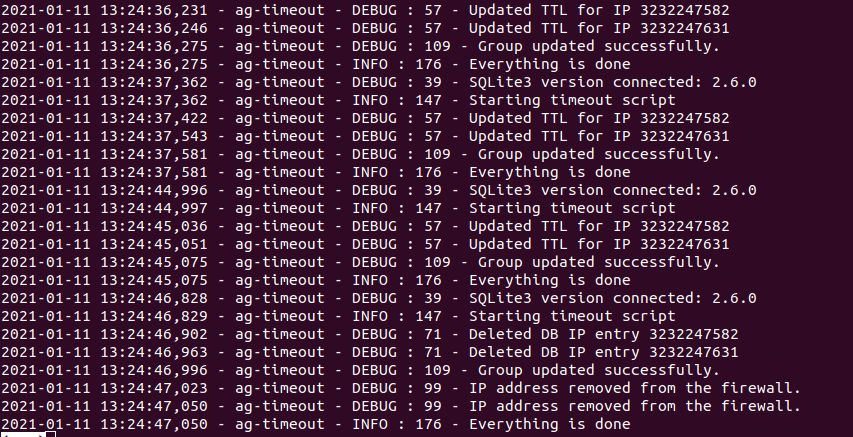
The timeout script is used to clear the list of blocked IPs. After multiple iterations of the timeout script, everything reverts back to the original state.
Multiple executions of the timeout script

The above screen shows that another IP address was added to the group. It will be stored in the database as an integer type for easier manipulation.
Close-up
This is one of the ways how you can use Flowmon combined with a third-party inline device for automatic attack mitigation. Alternatively, you could also use a standard firewall policy where you could use an additional IP address for the loopback interface so that unwanted traffic may be blocked. It’s all about fitting the products to your needs and circumstances.